Finding the Best Mirror Adhesive at Lowe's: A Buyer's Guide
Hanging a mirror can dramatically transform a room, adding light and style. But choosing the right adhesive is crucial for a secure and long-lasting installation. This buyer's guide will help you navigate the options at Lowe's and find the perfect mirror adhesive for your project.
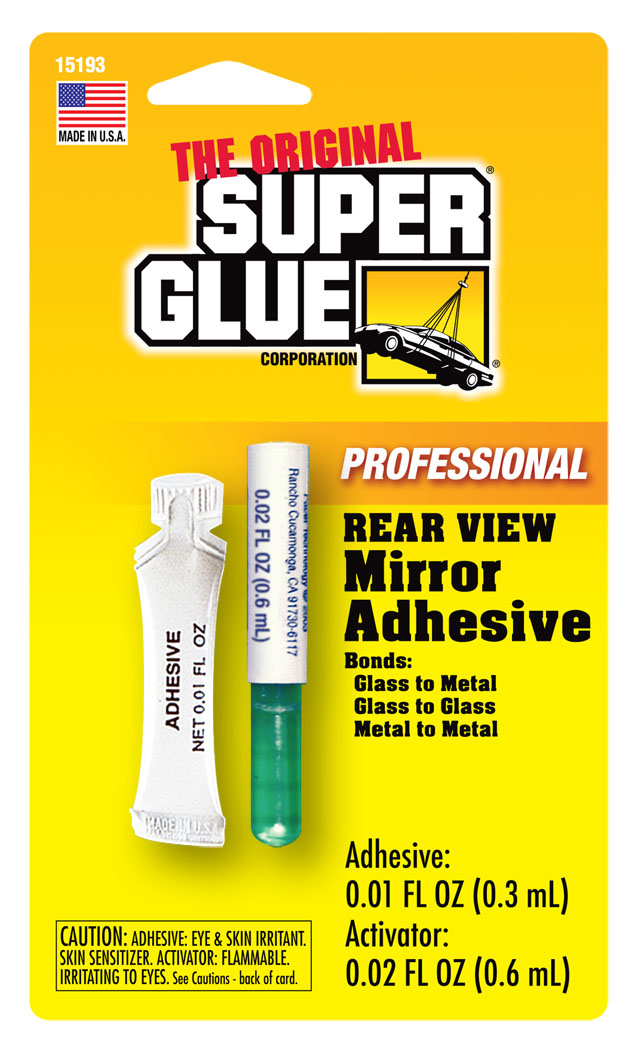
Why Choose Mirror Adhesive?
Traditional methods like nails or screws risk damaging mirrors and leaving unsightly holes. Mirror adhesive provides a clean, secure, and damage-free installation, perfect for delicate mirrors or surfaces where drilling isn't an option. At Lowe's, you'll find a variety of options, each suited to different needs and mirror types.
Types of Mirror Adhesive at Lowe's:
Lowe's offers a range of mirror adhesives, each with its own advantages and disadvantages:
-
Silicone-based adhesives: These are popular choices due to their strong bond, flexibility, and resistance to moisture. They're ideal for bathrooms and kitchens, where humidity is a concern. Look for silicone adhesives specifically designed for mirrors to ensure compatibility and prevent damage. Check for mildew-resistant options for added protection in damp environments.
-
Acrylic adhesives: Acrylic adhesives provide a strong hold and are often easier to clean up than silicone. They're a good all-around option for most mirrors and applications. Be aware that some acrylic adhesives might not be as suitable for heavy mirrors or high-humidity areas.
-
Epoxy adhesives: These are the strongest option available, providing an incredibly durable bond. They are ideal for very large or heavy mirrors, or those in high-traffic areas. However, epoxies are typically more difficult to work with and require precise application. Consider the cleanup process before choosing an epoxy adhesive.
Factors to Consider When Choosing:
Before heading to Lowe's, consider these factors to ensure you select the right adhesive:
- Mirror Weight and Size: Heavier mirrors require stronger adhesives. Check the adhesive's weight capacity before purchasing.
- Surface Type: The type of surface you're attaching the mirror to (tile, drywall, wood, etc.) will influence your adhesive choice. Some adhesives are better suited to certain surfaces than others.
- Humidity Level: In bathrooms or other high-humidity areas, choose a moisture-resistant or waterproof adhesive.
- Clean Up: Consider the ease of cleanup. Silicone can be messy, while some acrylic adhesives are easier to clean.
Top Recommendations (Based on Customer Reviews & Lowe's Selection – Always check current availability at your local store):
While specific product names change frequently, look for adhesives that highlight the following features in the product description at Lowe's:
- High weight capacity: Essential for larger mirrors.
- Moisture resistance: Crucial for bathrooms and kitchens.
- Clear drying: For a seamless, invisible bond.
- Easy application: Look for adhesives with clear instructions and easy-to-use applicators.
Preparation is Key:
Regardless of the adhesive you choose, proper preparation is essential for a successful installation. Ensure the mirror and surface are clean, dry, and free of dust or debris. Follow the manufacturer's instructions carefully for best results.
Beyond Lowe's:
While Lowe's offers a good selection, exploring online retailers can expand your choices and allow for price comparisons. Websites like Amazon often provide detailed reviews that can help you make an informed decision.
Conclusion:
Choosing the right mirror adhesive is essential for a successful and long-lasting installation. By considering the factors outlined above and carefully reviewing the options available at Lowe's, you can confidently hang your mirror and enjoy its beauty for years to come. Remember to always check the manufacturer's instructions before beginning your project. Happy decorating!

