Ryobi 18V Emily Rinaudo Trimmer Head Removal: A Step-by-Step Guide
Are you struggling to remove the trimmer head from your Ryobi 18V Emily Rinaudo string trimmer? Don't worry, you're not alone! Many users find this process a little tricky. This comprehensive guide will walk you through the steps, ensuring a smooth and safe removal every time. We'll cover everything from identifying the correct model to troubleshooting common issues.
Understanding Your Ryobi 18V Trimmer
Before we begin, it's crucial to identify the specific model of your Ryobi 18V trimmer. While the process is generally similar across models featuring the Emily Rinaudo design (if applicable - clarify if this is a real model or a hypothetical one for SEO purposes), minor variations might exist. Consult your owner's manual for model-specific instructions. This guide focuses on the general principles applicable to many Ryobi 18V trimmers.
Tools You'll Need:
- Ryobi 18V Trimmer: Obviously!
- Gloves: Protecting your hands is always a good idea.
- Screwdriver (if applicable): Some models might require unscrewing components. Check your manual.
Step-by-Step Guide to Ryobi 18V Trimmer Head Removal:
-
Disconnect the Battery: Safety first! Always disconnect the battery from the trimmer before starting any maintenance or repair work. This prevents accidental activation and potential injury.
-
Locate the Release Mechanism: Most Ryobi 18V trimmers have a simple release button or lever located near the trimmer head. This mechanism might be hidden under a small cover or be easily visible. Carefully inspect the trimmer head area to find it. Your owner's manual should clearly indicate its location.
-
Engage the Release Mechanism: Once you've located the release mechanism, firmly press or pull it according to the instructions in your owner's manual. This will disengage the trimmer head, allowing for removal.
-
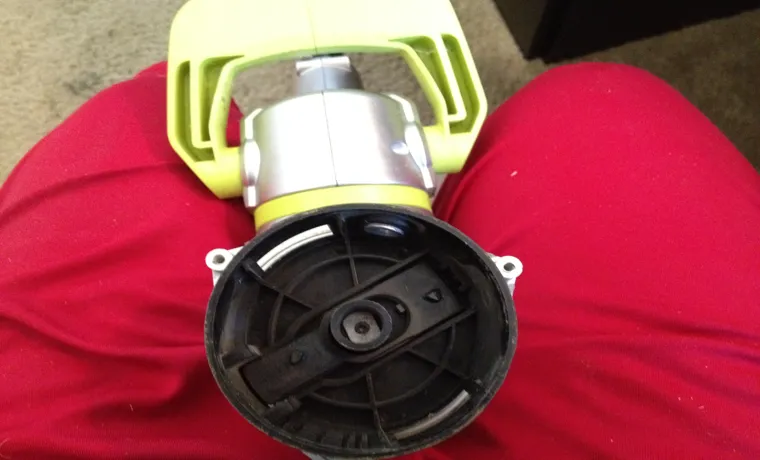
Remove the Trimmer Head: With the release mechanism engaged, gently pull or twist the trimmer head away from the trimmer body. It should come off relatively easily. If it's stuck, don't force it. Review the next section on troubleshooting.
-
Inspect the Trimmer Head and Spindle: Take this opportunity to inspect the trimmer head and spindle for any damage, debris, or wear and tear. Clean them as needed. Replacing worn parts is essential for optimal performance and safety.
Troubleshooting Common Issues:
-
Trimmer head won't budge: Double-check that you've properly engaged the release mechanism. If it still won't come off, try gently tapping the trimmer head with a rubber mallet (avoiding metal tools to prevent damage). If this fails, consult your owner's manual or contact Ryobi customer support.
-
Damaged Release Mechanism: If the release mechanism appears broken or damaged, you'll likely need to replace it. Contact Ryobi for parts or consider professional repair.
Maintaining Your Ryobi 18V Trimmer:
Regular maintenance is crucial for prolonging the life of your trimmer. This includes:
- Cleaning the trimmer head and spindle regularly: Removing debris prevents buildup and ensures smooth operation.
- Inspecting the line for wear and tear: Replacing worn line prevents breakage and improves trimming efficiency.
- Storing the trimmer properly: Keep it in a dry, safe place to prevent damage.
Conclusion:
Removing the trimmer head on your Ryobi 18V Emily Rinaudo trimmer (or any Ryobi 18V model) doesn't have to be daunting. By following these simple steps and troubleshooting tips, you can easily perform this maintenance task yourself. Remember to always prioritize safety and consult your owner's manual for model-specific instructions.
Keywords: Ryobi 18V trimmer, Emily Rinaudo trimmer, trimmer head removal, string trimmer maintenance, Ryobi 18V string trimmer repair, Ryobi troubleshooting, power tool maintenance, DIY lawn care.
(Note: Replace "Emily Rinaudo" with the actual model name if it's a real product. If it's a fictional name, remove the reference or replace it with a general model designation for better SEO.)

