King Kutter Tiller Gearbox Seal Replacement: A Step-by-Step Guide
Maintaining your King Kutter tiller is crucial for optimal performance and longevity. One common issue that can impact its efficiency is a leaking gearbox seal. This step-by-step guide will walk you through the process of replacing your King Kutter tiller gearbox seal, saving you time and money on potential repairs. Whether you're a seasoned mechanic or a weekend warrior, this guide provides the necessary information to tackle this task confidently.
Why Replace Your Gearbox Seal?
A worn or damaged gearbox seal can lead to several problems, including:
- Gearbox oil leaks: This results in reduced lubrication, leading to premature wear and tear on internal components.
- Reduced performance: Insufficient lubrication can affect the tiller's power and overall efficiency.
- Potential damage to the gearbox: Operating the tiller with a leaking seal can cause irreversible damage to the gearbox, resulting in costly repairs or even replacement.
Tools and Materials You'll Need:
Before you begin, gather the necessary tools and materials:
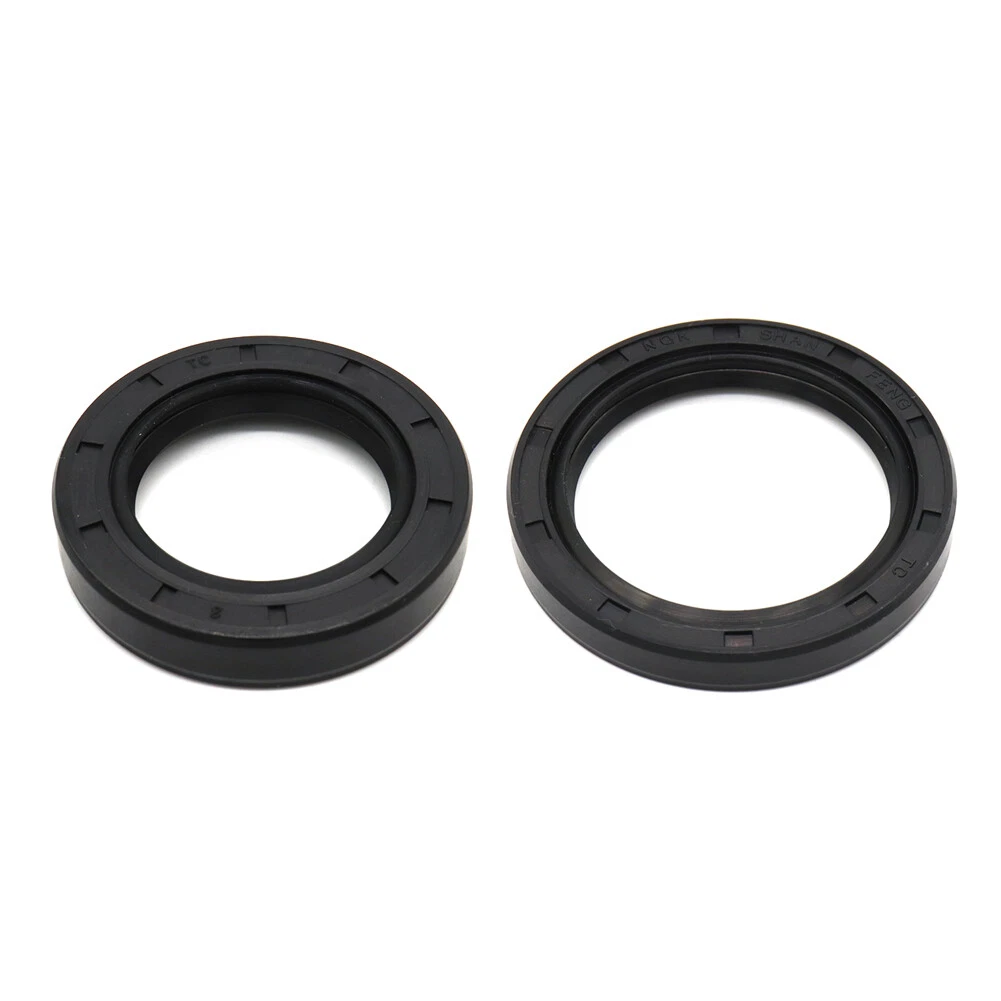
- New gearbox seal: Ensure you purchase the correct seal specifically designed for your King Kutter tiller model. Refer to your owner's manual or contact King Kutter customer service for the correct part number.
- Socket set: You'll need various sizes to remove and install bolts.
- Wrench set: Similar to the socket set, you'll need a variety of wrenches.
- Screwdrivers (Phillips and flathead): Depending on your tiller model.
- Gearbox oil: Use the type and amount recommended in your owner's manual.
- Drain pan: To collect the old oil.
- Shop rags or paper towels: For cleaning.
- Penetrating oil (optional): To help loosen stubborn bolts.
- Gloves: To protect your hands.
- Owner's Manual: Consult this for specific instructions related to your tiller model.
Step-by-Step Replacement Guide:
This guide provides general instructions; always refer to your specific King Kutter tiller's manual for model-specific details.
-
Disconnect the Power Source: Before starting any repairs, always disconnect the power source to your tiller (e.g., remove the spark plug wire). Safety is paramount!
-
Drain the Gearbox Oil: Place the drain pan under the gearbox drain plug and carefully remove the plug using the appropriate wrench. Allow all the oil to drain completely.
-
Remove the Gearbox Cover: Locate and remove the bolts securing the gearbox cover. Penetrating oil may be helpful if bolts are stuck. Carefully remove the cover, taking note of its position and any gaskets or seals.
-
Remove the Old Seal: The old seal will likely be embedded in the gearbox housing. Use a suitable tool (e.g., a seal puller or a flathead screwdriver) to carefully remove the old seal, being cautious not to damage the gearbox housing.
-
Clean the Housing: Thoroughly clean the gearbox housing where the old seal was located. Remove any debris or old sealant.
-
Install the New Seal: Carefully install the new seal, ensuring it's seated properly and evenly. You may need to lubricate the seal slightly to aid installation.
-
Reassemble the Gearbox: Carefully reassemble the gearbox, replacing the cover and bolts. Tighten the bolts to the manufacturer's specified torque.
-
Refill with Gearbox Oil: Add the recommended amount of gearbox oil to the gearbox, referring to your owner's manual for the correct type and quantity.
-
Test the Tiller: Reconnect the power source and test the tiller. Check for any leaks around the gearbox seal.
Troubleshooting and Tips:
- Stuck Bolts: If you encounter stubborn bolts, apply penetrating oil and allow it to sit for several minutes before attempting to loosen them.
- Seal Installation: If you have trouble installing the new seal, consult your owner's manual or search for online videos demonstrating the correct technique.
- Persistent Leaks: If you still experience leaks after following these steps, there may be additional issues requiring professional attention.
Conclusion:
Replacing your King Kutter tiller gearbox seal is a manageable task with the right tools and instructions. By following this guide, you can restore your tiller's performance and extend its lifespan. Remember, safety is paramount, so always disconnect the power source before beginning any repairs. If you encounter any significant difficulties, it's always best to consult a qualified mechanic.
Keywords: King Kutter tiller, gearbox seal replacement, tiller repair, garden tiller maintenance, King Kutter maintenance, tiller gearbox, DIY tiller repair, gearbox oil leak, tiller troubleshooting.

