How to Easily Change the Battery in Your First Alert Smoke Detector
Keeping your home safe is paramount, and a functioning smoke detector is a crucial part of that safety net. But what happens when that trusty First Alert smoke detector starts beeping its low-battery warning? Don't panic! Changing the battery is a simple process that can be done in minutes. This guide will walk you through the easy steps, ensuring your home remains protected.
Why Regularly Changing Your Smoke Detector Battery is Crucial
A dead battery in your smoke detector renders it useless, leaving your family vulnerable to the dangers of fire. Regular battery changes aren't just a good idea – they're essential for maintaining your home's safety. Most smoke detectors will beep persistently to alert you to a low battery, giving you a clear indication that it's time for a replacement. Ignoring this warning could have serious consequences.
Understanding Your First Alert Smoke Detector Model
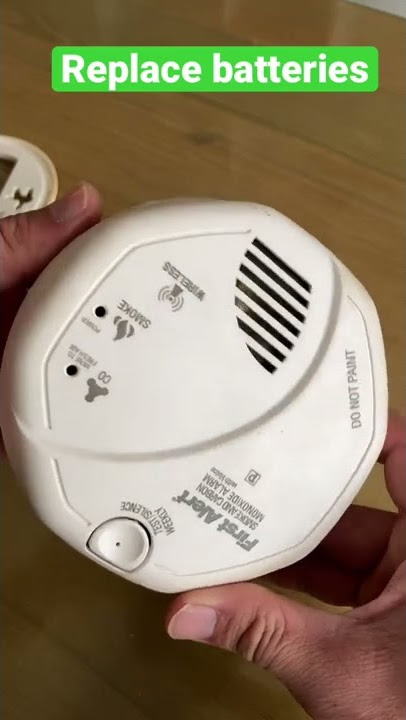
First Alert manufactures a wide range of smoke detectors, and while the process is generally similar, slight variations may exist depending on your specific model. Before beginning, take a moment to identify your model number. This information is usually found on the back of the detector. Knowing your model helps you find specific instructions if needed, although the general steps outlined below apply to most models.
Step-by-Step Guide to Changing Your First Alert Smoke Detector Battery
Here's a simple, step-by-step guide to changing your First Alert smoke detector battery:
-
Locate the Battery Compartment: Most First Alert smoke detectors have a battery compartment located on the back of the unit. You might need a small Phillips head screwdriver for some models.
-
Open the Compartment: Gently twist or slide open the battery compartment cover. The mechanism varies slightly depending on the model, so refer to your owner's manual if you're unsure.
-
Remove the Old Battery: Carefully remove the old battery. Note its orientation (positive and negative terminals) to ensure you install the new battery correctly.
-
Insert the New Battery: Insert the new battery, making sure it's correctly oriented. Match the positive (+) and negative (-) terminals to those in the compartment. Use a fresh 9-volt battery.
-
Close the Compartment: Securely close the battery compartment cover.
-
Test the Smoke Detector: After installing the new battery, press and hold the test button. You should hear a loud beep, confirming the detector is functioning correctly. If you don't hear a beep, double-check the battery installation and refer to your owner's manual.
Choosing the Right Battery
Always use a fresh 9-volt alkaline battery. Avoid using rechargeable batteries, as they may not provide the consistent power needed for optimal smoke detector performance. Look for high-quality brands to ensure longevity and reliability.
Beyond Battery Replacement: Essential Smoke Detector Maintenance
While changing the battery is crucial, it's also essential to perform regular maintenance on your First Alert smoke detector:
- Dust Regularly: Dust can interfere with the detector's sensors. Gently clean the detector with a soft brush or vacuum cleaner.
- Test Monthly: Test your smoke detector monthly by pressing the test button to ensure it's functioning properly.
- Replace Every 10 Years: Smoke detectors have a limited lifespan. Replace your smoke detector every 10 years, regardless of the battery's condition.
Conclusion:
Changing your First Alert smoke detector battery is a straightforward process that significantly enhances your home's safety. By following these simple steps and performing regular maintenance, you can ensure your family is protected from the devastating effects of fire. Remember, a functioning smoke detector could save lives. Don't delay – check your smoke detector today!

