Delta Frameless Shower Door Installation: A Step-by-Step Guide for Homeowners
Are you ready to upgrade your bathroom with a sleek and modern frameless shower door? Installing a Delta frameless shower door can significantly enhance your bathroom's aesthetic appeal and create a spa-like experience. While it might seem daunting, this comprehensive guide will walk you through the process step-by-step, empowering you to tackle this DIY project with confidence.
Planning Your Delta Frameless Shower Door Installation
Before you even think about touching a tool, proper planning is key for a successful installation. This phase involves several crucial steps:
1. Measuring Your Shower Opening: Precision is Paramount
Accurate measurements are non-negotiable. Use a measuring tape to determine the exact width and height of your shower opening. Pay close attention to any irregularities or inconsistencies in the walls. Double-check your measurements – inaccuracies here will lead to problems later. Consider purchasing a laser level for precise measurements. Your Delta shower door's dimensions are critical for a perfect fit.
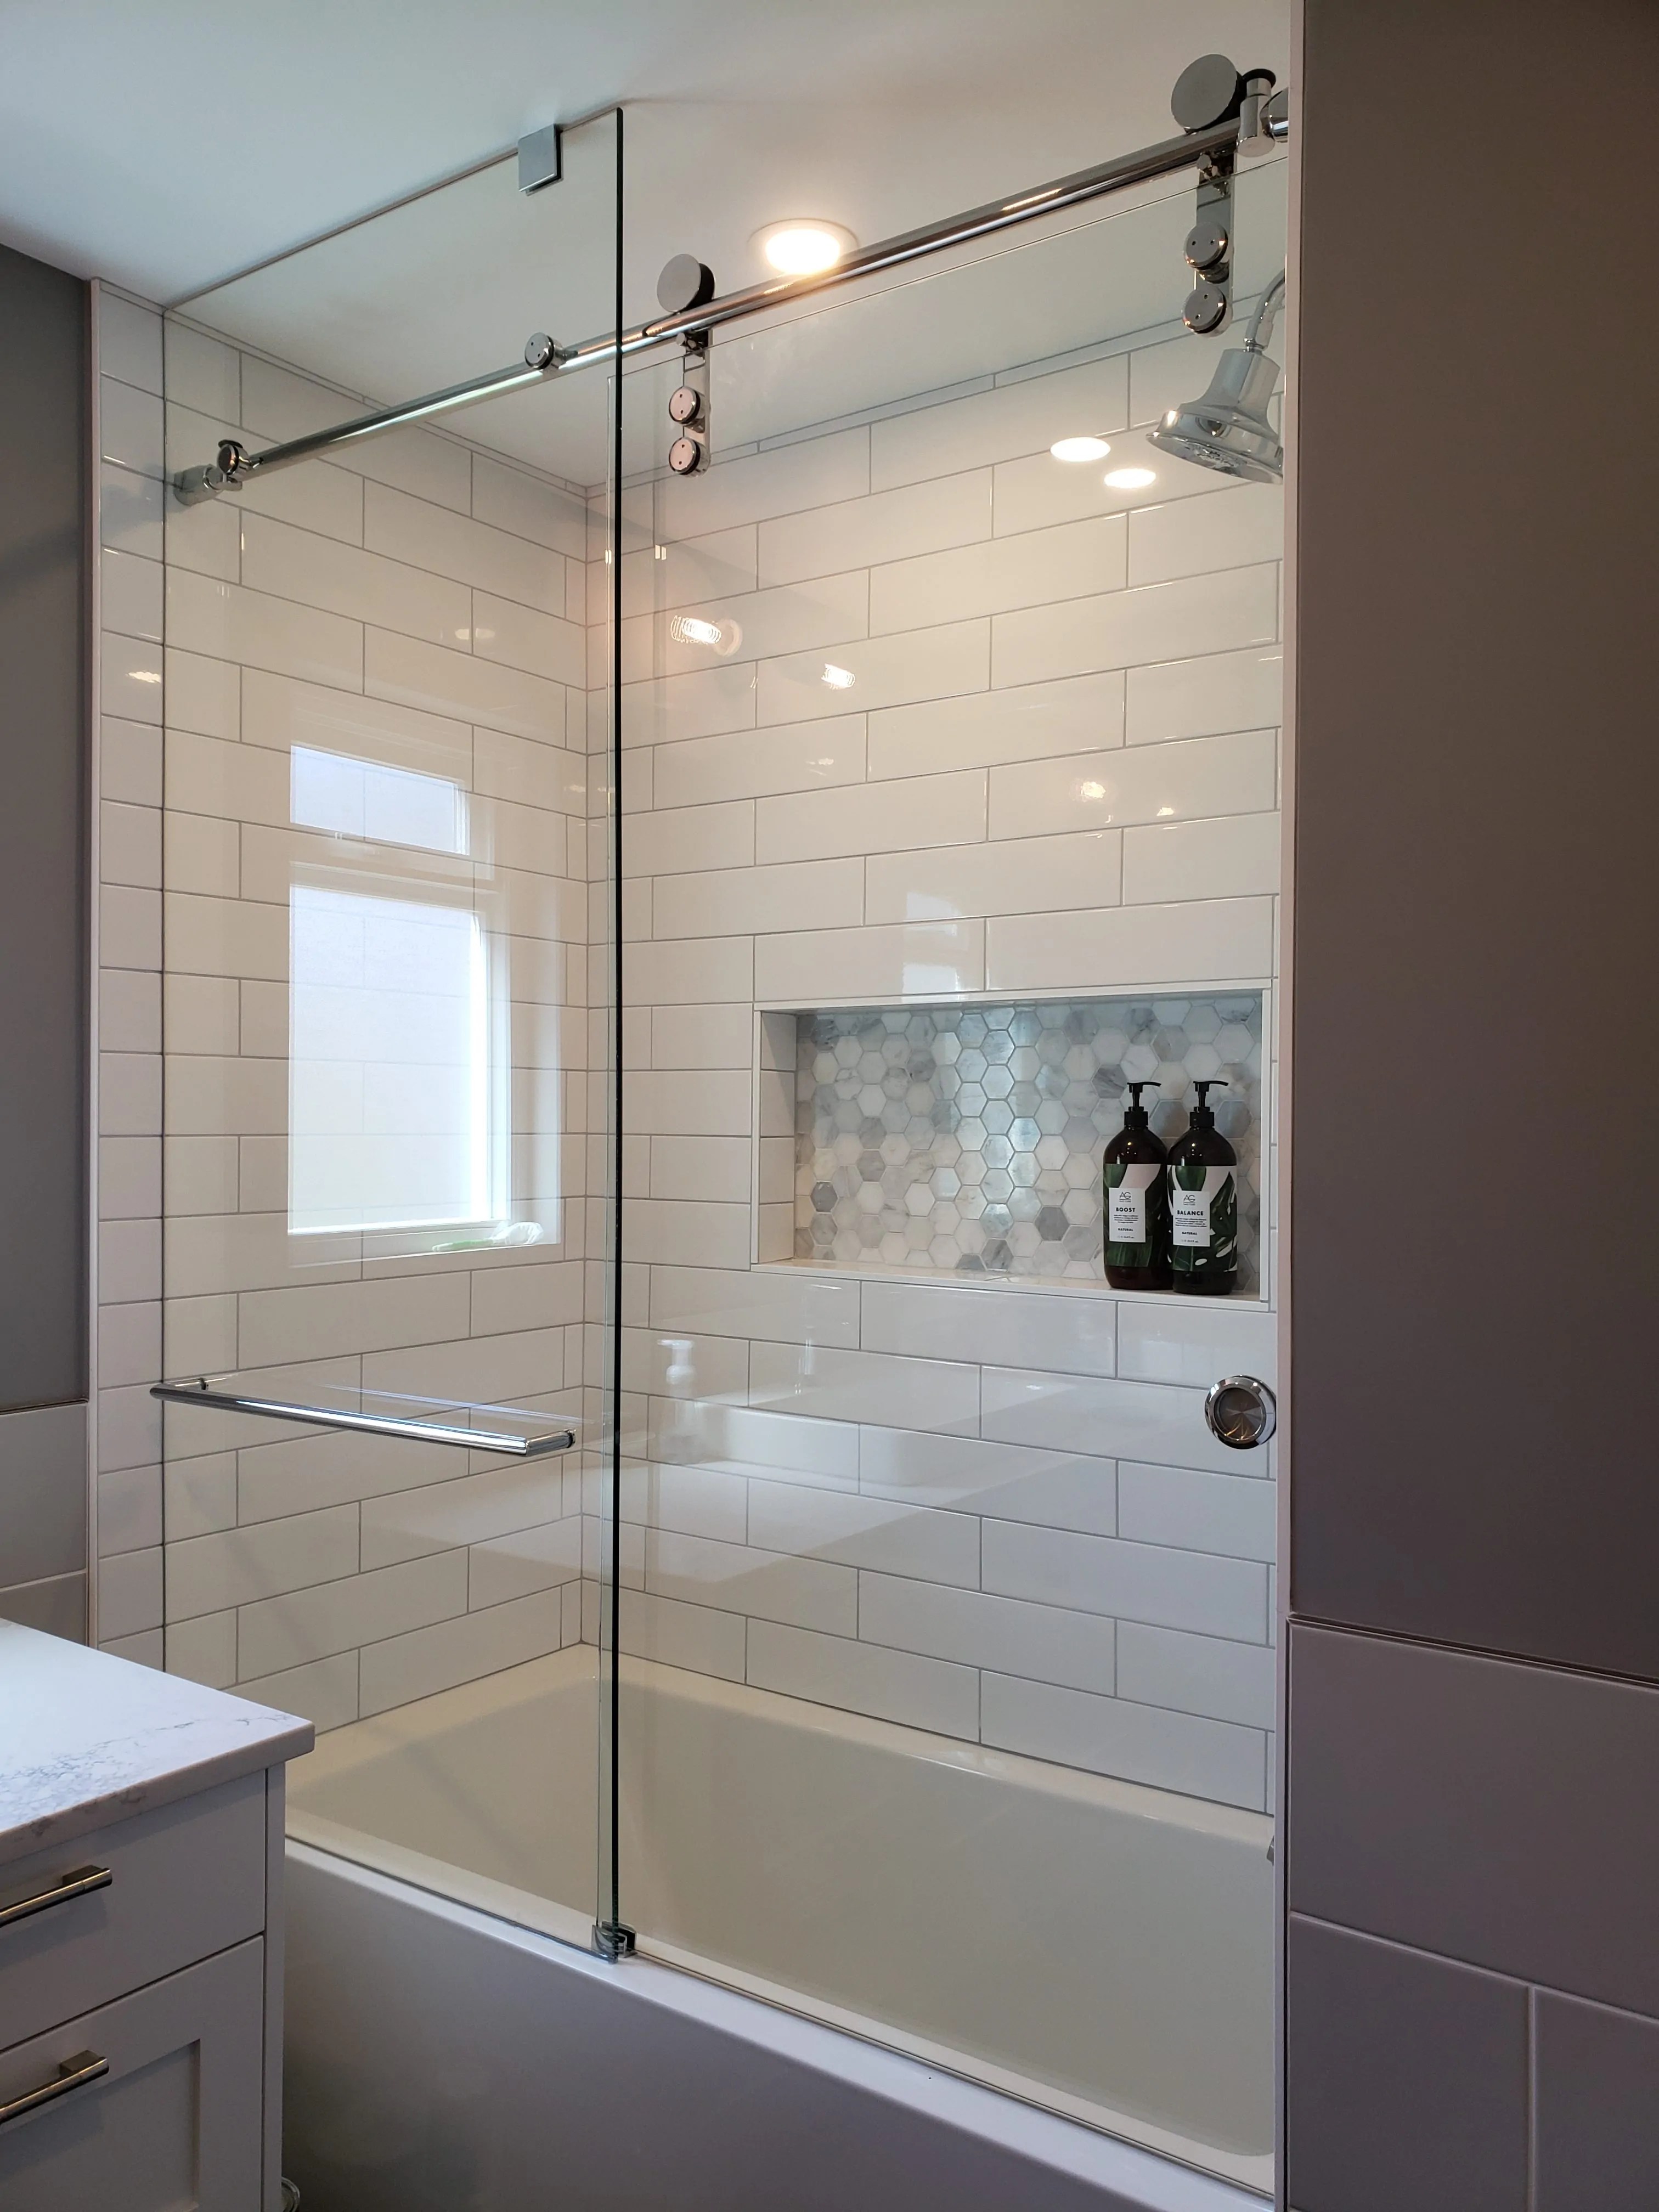
2. Choosing the Right Delta Frameless Shower Door
Delta offers a variety of frameless shower doors to suit different tastes and bathroom layouts. Consider the following factors:
- Door Type: Sliding doors, hinged doors, and bypass doors are common options. Each type has its advantages and disadvantages regarding space efficiency and functionality.
- Glass Type: Tempered glass is essential for safety. Delta typically offers various glass thicknesses and finishes.
- Hardware Finish: Match the hardware finish (e.g., chrome, brushed nickel, matte black) to your existing bathroom fixtures for a cohesive look.
3. Gathering Your Tools and Materials
Before you begin, ensure you have all the necessary tools and materials. This includes:
- Level: A reliable level is critical for ensuring a plumb and level installation.
- Drill: A drill with the appropriate drill bits for your shower walls.
- Screwdriver: Phillips and flathead screwdrivers will likely be needed.
- Caulk: High-quality silicone caulk for sealing gaps.
- Measuring Tape: For precise measurements throughout the installation.
- Safety Glasses: Always prioritize safety!
Step-by-Step Delta Frameless Shower Door Installation Guide
Now for the main event! This guide assumes you're installing a hinged Delta frameless shower door. Consult your specific Delta shower door's instructions for detailed guidance related to your model.
1. Preparing the Shower Opening
Clean the shower opening thoroughly to ensure proper adhesion for the caulk. Remove any old caulk or sealant. Ensure the shower walls are clean, dry, and free from debris.
2. Installing the Wall Channels
Carefully align and secure the wall channels to the shower walls using the provided screws and your drill. Use a level to guarantee a perfectly vertical installation.
3. Installing the Hinges
Attach the hinges to the door and the wall channels. Ensure that the hinges are aligned correctly and that the door swings freely and smoothly.
4. Installing the Handle(s)
Install the door handle(s) according to the manufacturer's instructions. Ensure they are securely fastened and operate smoothly.
5. Installing the Threshold (if applicable)
If your Delta shower door includes a threshold, install it according to the instructions. This step often involves applying caulk to ensure a watertight seal.
6. Applying Caulk
Apply a bead of high-quality silicone caulk along the seams to create a waterproof seal. This is crucial to prevent leaks and maintain the shower's integrity.
7. Final Checks and Adjustments
Once everything is installed, perform a final check for proper alignment, functionality, and water tightness. Make any necessary adjustments before you declare the project complete.
Troubleshooting and Tips for Success
- Uneven Walls: If your walls are uneven, you may need to use shims to ensure the door hangs properly.
- Door Alignment: If the door doesn't align perfectly, recheck the hinges and wall channels.
- Leaks: If you experience leaks, inspect the caulk thoroughly and reapply as needed.
Remember to always consult your Delta shower door's specific installation instructions for detailed guidance.
Conclusion: Enjoy Your New Shower!
By following this step-by-step guide and taking your time, you can successfully install your Delta frameless shower door. The result? A stunning bathroom upgrade that significantly increases your home’s value and enjoyment. If you’re still hesitant, consider consulting a professional installer. But with careful planning and execution, this DIY project is within reach for many homeowners. Now go enjoy your beautifully renovated shower!

